AI coding tools can now turn a plain English description into working software. Getting a demo running takes an afternoon. Getting a product that strangers sign up for, rely on every week and pay for takes a lot more.
Most vibe-coded projects stall somewhere between the first prompt and the first customer. Features pile up, bugs creep in, and the app never leaves the developer’s laptop.
This guide covers eight steps that take a SaaS tool from idea to launch, and the decisions that matter at each one.
What Is Vibe Coding?
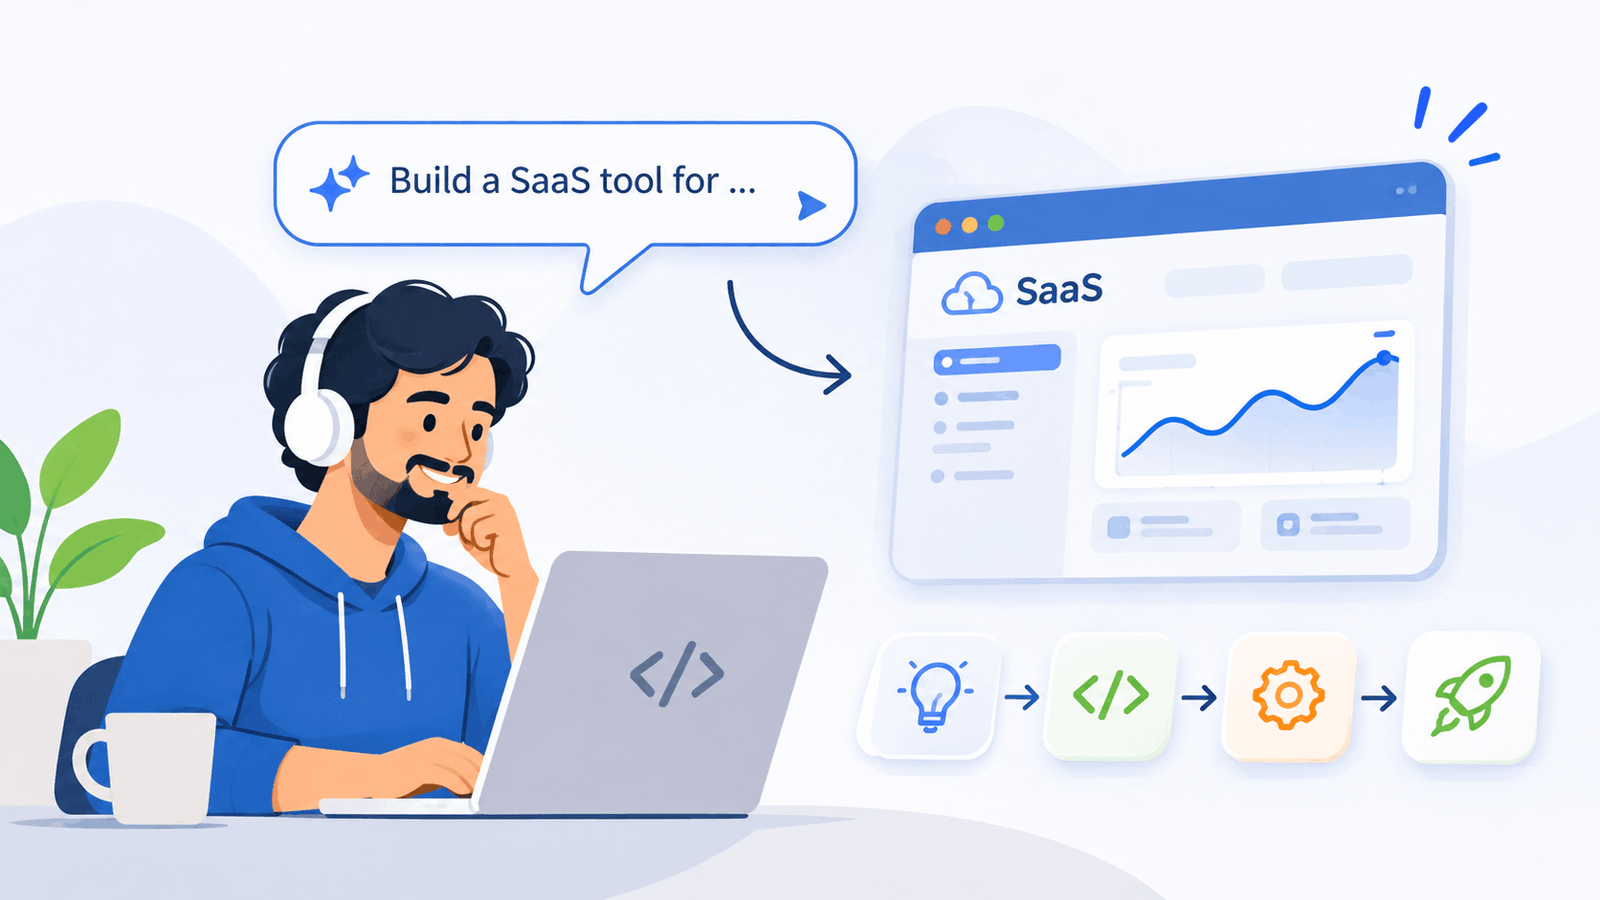
Vibe coding means building software by telling an AI tool what you want and letting it write the code. You describe a feature, the AI produces it, you run it, and you ask for changes until it works.
Your role shifts from writing code to directing it. You decide what gets built, check the output, and catch the mistakes. The AI types; you stay responsible for whether the product actually works.
This makes software accessible to founders, marketers and domain experts who know a problem well but never learned to code. It also helps experienced developers ship faster.
Step 1: Pick One Narrow Problem
The best vibe-coded products solve one specific problem for one specific group of people. A narrow focus means fewer features, clearer prompts and far less code for the AI to get wrong.
“A tool for small businesses” is too broad. “A tool that reminds yoga studio members when their monthly fee is due” is something you can actually build and test.
Two real examples show how tight this focus can be. Centrl Studio is a studio management tool built around one pain point: studio owners in India chasing monthly fees over WhatsApp. GridRankTracker does one job for local SEO professionals: showing where a business ranks on Google Maps across a grid of locations.
Before writing a single prompt, finish this sentence: “My tool helps [who] do [what] without [current pain].” If you can’t, the idea needs more narrowing.
Step 2: Define Your MVP Features
An MVP (minimum viable product) is the smallest version of your tool that solves the core problem. Aim for three to five features, no more.
Write them down as a plain list before you open any AI tool. For a fee reminder app, that list might look like this:
- Add and edit members
- Set a monthly fee and due date for each member
- Send an automatic reminder before the due date
- Mark a payment as received
- View who has paid and who hasn’t
Everything else, such as reports, multiple branches or a mobile app, goes on a “later” list. AI tools make adding features feel effortless, which is exactly why scope creep kills so many vibe-coded projects.
Step 3: Choose Your Tools and Tech Stack
Pick popular, well-documented tools. AI models have seen far more code for mainstream frameworks, so they make fewer mistakes with them.
| Layer | What it does | Common choices |
|---|---|---|
| AI coding tool | Writes and edits your code | Cursor, Claude Code, Lovable, Bolt, Replit |
| Frontend | What users see and click | React, Next.js |
| Backend | Business logic and APIs | Node.js, Python (FastAPI) |
| Database | Stores users and app data | Supabase, PostgreSQL, Firebase |
| Hosting | Keeps the app online | Vercel, Railway, Render |
| Payments | Collects subscription fees | Stripe, Razorpay |
If you have no coding background, browser-based builders like Lovable or Bolt are the easiest start. If you can read some code, Cursor or Claude Code give you more control as the product grows.
Also set up a GitHub account on day one. Version control lets you undo changes when the AI breaks something that used to work.
Step 4: Build in Phases with Clear Prompts
Don’t ask the AI to build the whole app in one go. Large requests produce tangled code that is hard to fix later. Build one feature, test it, commit it, then move to the next.
A good prompt states what you want, where it goes and what to leave alone. Compare these two:
Weak prompt: “Add payments to my app.”
Strong prompt: “Add a ‘Mark as paid’ button to each row on the members page. When clicked, set the member’s payment status to paid and save today’s date as the payment date in the database. Don’t change any other page.”
The second prompt leaves little room for guessing, so the AI is far less likely to rewrite parts of your app you didn’t ask it to touch.
One more habit worth building: start a fresh chat for each new feature. Long conversations make AI tools lose track of earlier instructions.
Step 5: Connect Third-Party APIs Carefully
Most SaaS tools rely on outside services: a payment gateway, a messaging API, a maps or data provider. These connections are where vibe-coded apps break most often.
Three things to check before you connect any API:
- Cost per call. Some APIs charge for every request. A feature that calls an API on every page load can turn a small bill into a large one fast.
- Rate limits. Find out how many requests you can make per minute, and ask the AI to handle the error when you hit that limit.
- API keys. Keys must live in environment variables on the server, never in frontend code. AI tools sometimes paste keys straight into the code, so check every time.
Paste the API’s official documentation into your prompt. AI models often remember outdated versions of an API, and the docs keep them on the current one.
Step 6: Test and Fix What the AI Gets Wrong
AI-written code usually works for the obvious case and fails at the edges. Your job is to find those edges before your users do.
Test each feature with messy, real-world input:
- Empty fields, very long names and special characters
- Two users editing the same record at once
- A payment that fails halfway through
- A user trying to open another user’s data by changing the URL
That last one matters most. Ask the AI directly: “Can a logged-in user see or change data that belongs to another account?” Then test it yourself with two separate accounts.
When something breaks, describe the bug precisely. Share the error message, what you expected and what happened instead. “It doesn’t work” gives the AI nothing to go on.
After every fix, recheck the features around it. AI tools often solve one bug by quietly breaking something nearby.
Step 7: Add Pricing and Payments
Charge from the start, even if the price is low. Paying users give you honest feedback; free users mostly don’t.
Keep pricing simple at launch. One or two plans, or a free tier with one paid upgrade, is enough. You can add more tiers once you know what customers actually value.
Match the payment method to your market. Stripe works well for international customers. If you sell in India, a gateway like Razorpay supports UPI, which most small businesses there prefer.
Test the full payment flow in sandbox mode before going live: successful payment, failed payment, cancelled subscription and renewal. Billing bugs cost you money and trust at the same time.
Step 8: Deploy and Launch
Deploying puts your app on the internet. Platforms like Vercel, Railway and Render connect to your GitHub repository and publish each update automatically. Add a custom domain, and confirm SSL (the padlock in the browser) is active.
Before inviting anyone, set up two safety nets:
- Error tracking. A tool like Sentry alerts you when something breaks, so you hear about it before your users complain.
- Database backups. Turn on automatic daily backups. Losing customer data is the one mistake a small SaaS rarely recovers from.
For your first users, go where your audience already gathers: niche communities, LinkedIn, industry groups or direct outreach. Ten users who match your target exactly are worth more than a hundred random signups.
Common Vibe Coding Mistakes to Avoid
| Mistake | Why it hurts | Fix |
|---|---|---|
| Building too many features | More code means more bugs and slower launch | Stick to 3 to 5 MVP features |
| One giant prompt | AI produces tangled code that’s hard to fix | Build one feature per prompt |
| No version control | Can’t undo when the AI breaks working code | Commit to GitHub after every working change |
| Accepting code without testing | Edge-case bugs reach real users | Test every feature with messy input |
| API keys in frontend code | Anyone can steal and misuse them | Store keys in server environment variables |
| Skipping backups | One bad change can wipe customer data | Turn on daily automatic backups |
FAQs
Can I vibe code a SaaS with no coding experience?
Yes. Many working SaaS tools are built by people who don’t code. You still need to learn basics like what a database and an API do, so you can spot problems and guide the AI.
How much does it cost to vibe code a SaaS?
A simple MVP can run on roughly $20 to $100 a month. That covers an AI coding tool subscription, hosting and a domain. Many hosting and database services have free tiers to start.
How long does it take?
A focused MVP with three to five features usually takes a few weeks of part-time work. Testing and fixing often take as long as building.
Is vibe-coded software safe for paying customers?
It can be, if you test it properly. Check user data access, protect API keys, keep backups and use trusted services for login and payments.
Conclusion
Vibe coding has removed the biggest barrier to building software. What separates a launched SaaS from an abandoned project is discipline: a narrow problem, a short feature list, small prompts, careful testing and a real launch plan.
Start with one problem you understand well. Build the smallest version that solves it, put it in front of real users and improve it based on what they tell you.